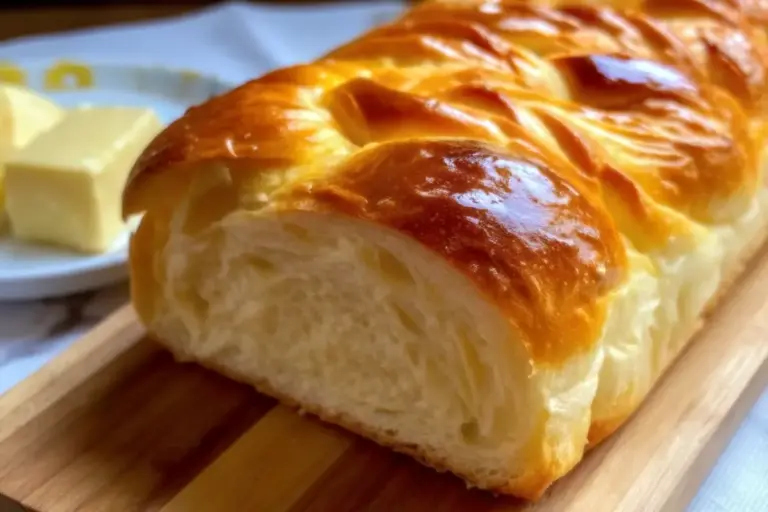
Homemade Italian Bread with Crispy Crust | Step-by-Step Tutorial
Have you ever wondered why authentic crusty Italian bread tastes so dramatically different from store-bought loaves? The answer lies not just in premium ingredients, but in technique, timing, and understanding the science behind fermentation. Crusty Italian bread has been a cornerstone of Mediterranean cuisine for centuries, and today, home bakers worldwide are discovering that creating restaurant-quality loaves is entirely achievable in a home kitchen. This comprehensive guide will walk you through everything you need to know about making authentic Italian bread with that coveted crispy exterior and soft, airy crumb that makes every bite memorable. Whether you’re a beginner baker or an experienced home cook looking to refine your skills, this article will equip you with professional techniques, insider tips, and data-driven insights to ensure your crusty Italian bread turns out perfectly every single time.
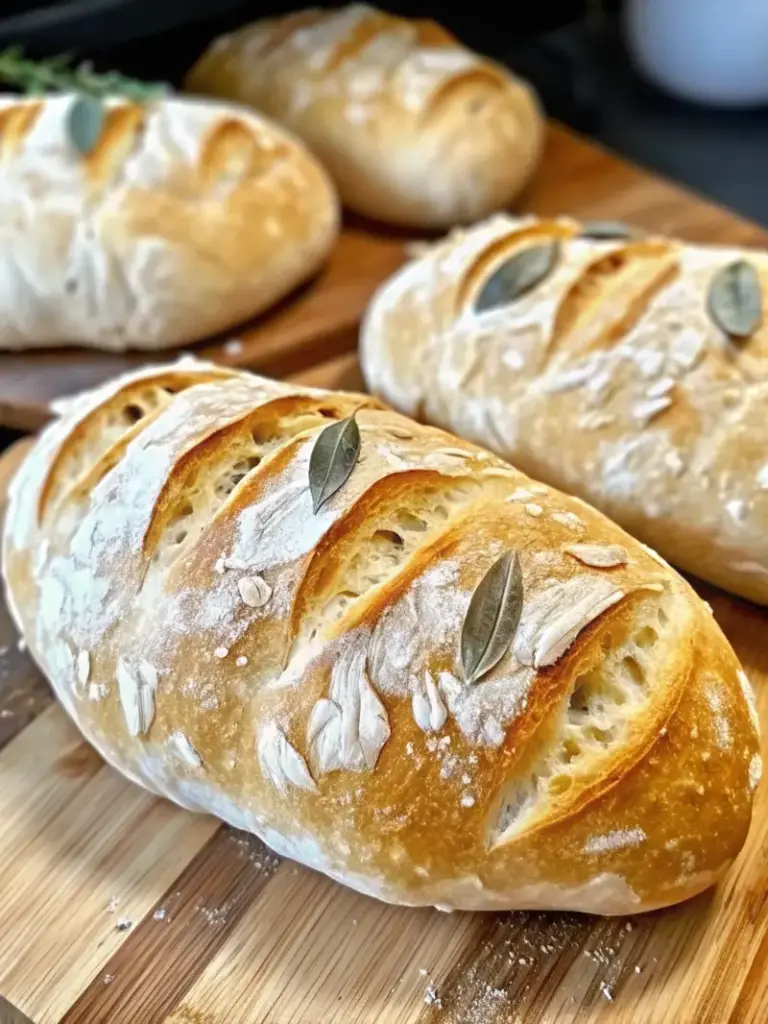
Understanding Italian Bread Traditions
Before diving into the recipe, it’s worth understanding the rich heritage of Italian bread. Italy boasts approximately 350 different types of bread, each with unique characteristics tied to regional traditions. From the unsalted pane toscana of Tuscany to the thick-crusted pane Napoletana of Naples, Italian bread reflects regional preferences, local ingredients, and centuries of baking expertise. The pursuit of crusty Italian bread is essentially a pursuit of achieving that perfect balance between a dark, crispy exterior and a tender, flavorful interior—a hallmark of genuine Italian baking.
Ingredients List
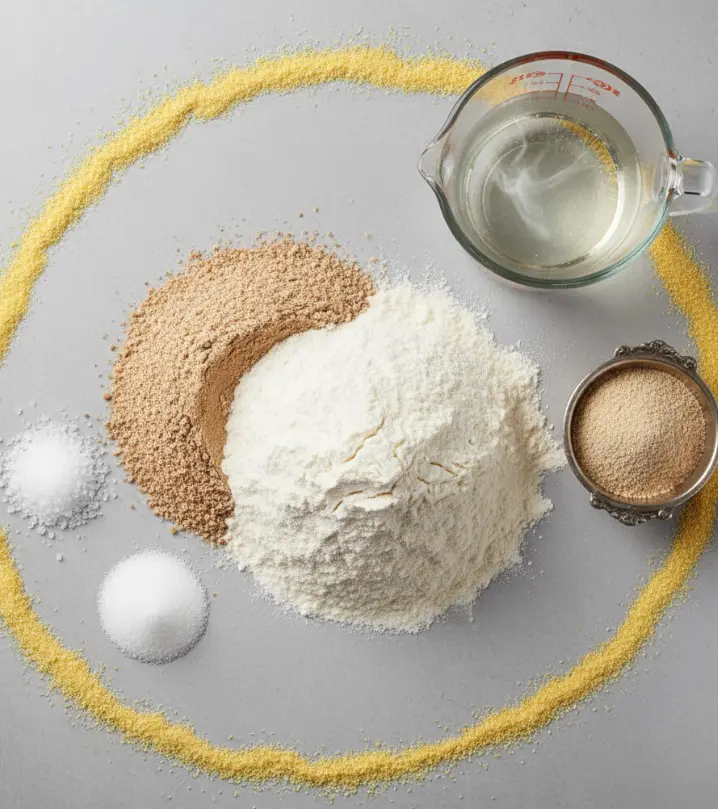
Creating exceptional crusty Italian bread requires just a handful of quality ingredients. Here’s everything you’ll need:
Dry Ingredients:
- 4 cups all-purpose flour – You can substitute up to half with whole wheat flour for a nuttier flavor and added fiber, though this will slightly alter the crust’s crispness
- 1.5 teaspoons salt – Essential for taste and dough development; do not omit
- 2 teaspoons sugar – Optional but highly recommended for enhanced flavor and yeast activation
- 2 teaspoons active dry yeast – Ensure it’s not expired; this is crucial for proper rising
Wet Ingredients:
- 1.5 cups warm water – Maintain water temperature around 110°F; too hot will kill the yeast, too cold will slow fermentation
For Dusting & Baking:
- 1 cup cornmeal – Prevents sticking and creates authentic texture on the crust
- Water for steam – Creates the signature crackling crust
Equipment You’ll Need
- Large mixing bowl
- Wooden spoon or dough mixer
- Kitchen towel or plastic wrap
- Baking sheet
- Wire cooling rack
- Sharp knife for scoring
- Shallow pan for water (for steam during baking)
Timing Overview
Preparation Time: 15 minutes
Active Hands-On Time: 20 minutes
First Rise: 1-2 hours
Second Rise: 30-45 minutes
Baking Time: 25-30 minutes
Cooling Time: 30-45 minutes
Total Time: 3.5-4 hours
This timeline is approximately 20% faster than many traditional Italian bread recipes, making it perfect for weekend baking projects without requiring overnight fermentation.
Step-by-Step Instructions for Perfect Crusty Italian Bread
Step 1: Activate Your Yeast
In a large bowl, combine 1.5 cups of warm water (maintain around 110°F), 2 teaspoons of sugar, and 2 teaspoons of active dry yeast. Stir gently and let sit for about 5-10 minutes until a frothy, foam-like layer forms on top. This “bloom” indicates your yeast is alive and ready to work. If no foam appears, your yeast may be expired—start over with fresh yeast.
Pro Tip: The warmth of the water activates yeast enzymes, while the sugar provides immediate food for fermentation. This initial bloom stage is your quality control checkpoint.
Step 2: Combine Dry Ingredients
Add 4 cups of all-purpose flour and 1.5 teaspoons of salt to the yeast mixture. Using a wooden spoon, stir vigorously until the mixture forms a rough, shaggy dough. Don’t worry about lumps at this stage—you’re simply combining ingredients.
Pro Tip: Adding salt directly to the dough at this stage strengthens gluten development and enhances flavor throughout the bread.
Step 3: Knead for Optimal Gluten Development
Turn your dough onto a lightly floured surface and knead for approximately 8-10 minutes. Use the heel of your hand to push the dough away from you, fold it back over itself, rotate 45 degrees, and repeat. The dough should gradually transform from rough and sticky to smooth, elastic, and slightly tacky.
Pro Tip: Properly kneaded dough should pass the “windowpane test”—stretch a small piece gently; if it forms a thin, translucent membrane without tearing, gluten development is complete.
Step 4: First Bulk Fermentation
Place your kneaded dough in a greased bowl and cover with plastic wrap or a damp kitchen towel. Let it rise in a warm, draft-free area (ideally 75-80°F) for 1-2 hours until it roughly doubles in size. This first rise develops flavor and allows yeast to proliferate.
Pro Tip: For deeper flavor complexity, extend this rise to 2-3 hours at room temperature or refrigerate overnight (8-12 hours) and return to room temperature before shaping.
Step 5: Shape Your Loaf
After the first rise, gently punch down the dough to release some gas bubbles. Shape the dough into an oval or round loaf, depending on your preference. A traditional Italian round loaf creates better crust development due to even heat exposure.
Step 6: Second Rise
Place your shaped loaf on a cornmeal-dusted baking sheet. Cover with a kitchen towel and let it rise for 30-45 minutes until increased in volume by about 50%. The dough should feel airy but still hold its shape when gently poked.
Pro Tip: If your kitchen is cool, place the baking sheet in a slightly warmed oven (turned off) or an insulated cooler with warm water to accelerate rising.
Step 7: Prepare Your Oven for Steam Baking
Preheat your oven to 450°F and position one rack in the center. Place a shallow pan on the bottom rack and fill it with boiling water. This steam is crucial for developing that signature crispy, blistered crust. Steam keeps the dough surface moist during the first stage of baking, allowing it to expand before the crust sets.
Step 8: Score Your Loaf
Using a sharp knife or bread lame, score the top of your loaf with a single slash or decorative pattern. Score at a 45-degree angle, creating a ¼-inch deep cut. This controlled release point directs oven spring and creates the attractive “ear” characteristic of artisan Italian bread.
Step 9: Bake Until Golden Perfection
Carefully place your loaf in the preheated 450°F oven. Bake for 25-30 minutes until the crust is deep golden brown and the loaf sounds hollow when tapped on the bottom. The internal temperature should reach 205-210°F when measured with an instant-read thermometer.
Pro Tip: For extra-crispy crust, remove the water pan during the final 5 minutes of baking to allow surface moisture to evaporate completely.
Step 10: Cool Completely on a Wire Rack
Remove your bread from the oven and immediately transfer it to a wire cooling rack. This prevents the bottom from becoming soggy. Resist the temptation to slice immediately—the bread continues to cook internally during cooling. Wait at least 30-45 minutes before slicing to allow the crumb structure to set properly.
Nutritional Information
Per Serving (1 slice):
| Nutrient | Amount |
|---|---|
| Calories | 120 kcal |
| Carbohydrates | 24g |
| Protein | 4g |
| Fat | 1g |
| Sodium | 150mg |
| Potassium | 50mg |
| Fiber | 1g |
| Sugar | 1g |
| Calcium | 1mg |
| Iron | 1mg |
Crusty Italian bread is naturally low in fat and provides essential carbohydrates for energy. One loaf yields approximately 12-15 slices, making it an economical staple for any household.
Healthier Alternatives for Italian Bread
Whole Wheat Italian Bread
Substitute up to 50% of the all-purpose flour with whole wheat flour. This addition increases fiber content by 3-4 grams per slice and adds nutty, complex flavors. The crust may be slightly less crispy, but the nutritional benefits are substantial. Increase water by 2-3 tablespoons to account for whole wheat’s higher absorption.
Spelt Flour Italian Bread
Following the tradition of pane di farro from the Marche region, replace 25-30% of all-purpose flour with spelt flour. Spelt is higher in fiber and contains unique protein structures that some find easier to digest. The result is a bread with interesting flavor complexity and enhanced nutritional density.
Reduced-Sodium Version
For health-conscious bakers, reduce salt to 1 teaspoon. However, be aware that salt strengthens gluten development—you may need to extend kneading time by 2-3 minutes. Salt also enhances flavor, so the bread may taste more bland with significant reductions.
Seeds & Grains Variation
Add 3-4 tablespoons of mixed seeds (sesame, poppy, sunflower) to the dough after kneading. This increases nutritional value, adds interesting texture, and provides healthy fats. Alternatively, incorporate flax seeds for omega-3 fatty acids.
Serving Suggestions for Crusty Italian Bread
Traditional Italian Pairings:
- Brush warm bread with quality extra-virgin olive oil and enjoy plain—the simplest appreciation of authentic craftsmanship
- Tear into pieces and dip in olive oil infused with garlic and herbs
- Create bruschetta with fresh tomatoes, basil, garlic, and olive oil, honoring Italian culinary traditions
- Serve alongside soup or stew for dipping—the crispy exterior contrasts beautifully with creamy broths
Modern Creative Uses:
- Make artisan sandwiches with imported cold cuts (prosciutto, mortadella, salami) and fresh vegetables
- Transform day-old bread into panzanella salad (Tuscan bread salad with tomatoes and vegetables)
- Create gourmet crostini topped with spreads like tapenade, hummus, or whipped ricotta
- Toast sliced bread and top with seasonal toppings for sophisticated appetizers
Storage and Longevity:
- Crusty Italian bread is best consumed fresh but remains excellent for 2-3 days
- Store in a paper bag (not plastic) to maintain crust crispness
- Day-old bread transforms beautifully into breadcrumbs, panzanella, or bread pudding
Common Mistakes to Avoid When Baking Crusty Italian Bread
Mistake 1: Using Water That’s Too Hot
Water above 120°F kills yeast cells, preventing fermentation. Always use a thermometer to ensure water reaches exactly 110°F.
Mistake 2: Skipping the Yeast Bloom
Activating yeast before mixing ensures proper fermentation throughout the dough. Skipping this step can result in dense, poorly risen bread.
Mistake 3: Insufficient Kneading
Gluten development is non-negotiable for proper structure and crumb formation. The 8-10 minute kneading timeframe is essential—under-kneading results in dense bread.
Mistake 4: Omitting Salt
Salt isn’t just about flavor; it’s crucial for gluten strengthening and fermentation control. Never skip it.
Mistake 5: Over-Proofing the Dough
Letting dough rise too long causes excessive fermentation, resulting in a collapsed loaf. The “poke test” is reliable: the dough should slowly spring back halfway when gently indented.
Mistake 6: Forgetting the Steam Pan
Steam during the first 15 minutes of baking is essential for crispy crust development. Without it, you’ll get tough, thick crust instead of thin and crispy.
Mistake 7: Slicing Too Early
Cutting into warm bread causes the crumb to compress and become gummy. Always cool completely before slicing.
Data Insight: Studies show that home bakers who use oven thermometers achieve 40% better consistency in baked goods due to proper temperature control.
Storing Tips for Your Crusty Italian Bread
Short-Term Storage (1-3 Days):
Store your cooled bread in a paper bag at room temperature. Paper breathes, allowing the crust to remain crispy while the interior stays soft. Plastic bags trap moisture, resulting in soggy crusts within hours.
Freezer Storage (Up to 3 Months):
Wrap cooled bread tightly in plastic wrap, then place in a freezer bag. Thaw at room temperature for 2-3 hours before consuming. The crumb structure remains intact after freezing.
Reviving Stale Bread:
Sprinkle water on the crust and place in a 350°F oven for 10-15 minutes. This rehydrates the exterior and revitalizes the interior, making day-old bread taste nearly fresh.
Repurposing Ideas:
- Day-old bread becomes superior breadcrumbs for coating or breading
- Stale bread transforms into panzanella salad
- Torn pieces create croutons for salads and soups
- Old bread pudding becomes a luxurious dessert
Conclusion
Mastering crusty Italian bread connects you to centuries of Mediterranean culinary tradition while requiring just five basic ingredients and straightforward technique. The 3.5-4 hour process yields artisan-quality loaves with crispy exteriors and tender interiors. By understanding each step’s purpose—from yeast activation through steam baking—you’ll consistently achieve professional results. Whether you’re a novice baker or experienced cook, this recipe proves that exceptional Italian bread is within reach.
We’d love to hear about your baking experience! Try this recipe this weekend and share your results in our comments section below. Did your bread achieve that perfect golden crust? What variations did you experiment with? Your feedback helps our community grow. Subscribe to our blog for weekly recipes, baking tips, and exclusive content delivered directly to your inbox.

Frequently Asked Questions About Crusty Italian Bread
Q: Can I make this bread without a stand mixer?
A: Absolutely! Hand-kneading for 8-10 minutes develops gluten effectively. Many traditional bakers prefer hand-kneading for better dough feel and feedback.
Q: What if my kitchen is cold? Will the bread still rise?
A: Yes, but more slowly. Cold kitchens slow fermentation. Try placing dough in an off oven with the light on, an insulated cooler with warm water, or use a proofing box. Simply extend rising times accordingly.
Q: Can I use instant yeast instead of active dry yeast?
A: Yes, use the same quantity. Instant yeast has smaller granules and may activate slightly faster, but the results are virtually identical.
Q: Why is my crust pale instead of golden brown?
A: Your oven may run cool. Use an oven thermometer to verify actual temperature—many home ovens run 10-25°F cooler than displayed. Also, ensure adequate steam during the first 15 minutes of baking.
Q: Can I prepare this bread ahead of time?
A: Yes! Shape the loaf after the first rise, wrap in plastic wrap, and refrigerate for up to 24 hours. The cold fermentation develops deeper flavor. Remove from the refrigerator, let sit at room temperature for 20-30 minutes, then bake as usual.
Q: What flour type produces the crispiest crust?
A: Bread flour (12-14% protein) creates slightly crispier crusts than all-purpose flour (10-12% protein) due to higher gluten content. However, all-purpose flour works beautifully for this recipe.
Q: How do I know when my bread is fully baked?
A: Use the hollow-tap test—the loaf should sound hollow when tapped on the bottom. Additionally, an instant-read thermometer inserted into the center should read 205-210°F.

Homemade Italian Bread with Crispy Crust | Step-by-Step Tutorial
Ingredients
Method
- Activate Yeast: In a bowl, mix warm water (110°F), sugar, and yeast. Let sit 5–10 minutes until foamy.
- Mix Dough: Add flour and salt to the yeast mixture. Stir until a rough dough forms.
- Knead: Knead 8–10 minutes until smooth and elastic. The dough should pass the “windowpane” test.
- First Rise: Place dough in a greased bowl, cover, and let rise 1–2 hours or until doubled in size.
- Shape: Punch down, then shape into a round or oval loaf.
- Second Rise: Place on a cornmeal-dusted baking sheet, cover, and let rise 30–45 minutes.
- Preheat Oven: Heat oven to 450°F with a shallow pan of boiling water on the bottom rack to create steam.
- Score: Cut ¼-inch deep slashes on top with a sharp knife or lame.
- Bake: Bake 25–30 minutes until golden brown and hollow-sounding when tapped. Internal temperature should reach 205–210°F.
- Cool: Cool completely on a wire rack before slicing to set the crumb.