Did you know that the average American consumes about 19 pounds of onions per year, whereas Libya consumes the most, at about 68 pounds per person per year? But here’s the fascinating part – when you transform ordinary onions into flavorful caramelized onions, you unlock a culinary secret that has captivated chefs and home cooks for centuries.
The process of caramelization involves the natural sugars in the onions breaking down and developing complex flavors. While the exact origin is unknown, the technique of slowly cooking onions to enhance their sweetness has been practiced for centuries in various cuisines. These golden, sweet-savory gems don’t just add flavor – they create an umami-rich foundation that can elevate everything from simple sandwiches to gourmet tarts.
Ingredients List
For perfectly flavorful caramelized onions, you’ll need just a handful of premium ingredients that create magic through simplicity:
Essential Ingredients:
- 2 large yellow onions (or sweet onions like Vidalia) – onions are full of naturally occurring sugar. While some onions definitely have more sugar than others (think Vidalia onions or Walla Walla onions) they all have high sugar content
- 2 tbsp unsalted butter (for rich, creamy flavor)
- ½ tsp salt (to draw out natural sugars)
- 1 tsp balsamic vinegar (the secret ingredient for depth!)
Smart Substitutions:
- Vegan option: Replace butter with high-quality olive oil
- Sweet onion alternatives: Walla Walla, Maui, or Spanish onions
- Flavor enhancers: Try red wine vinegar or sherry vinegar instead of balsamic
Each ingredient plays a crucial role in developing those complex, caramelized flavors that make these onions irresistible.

Timing
Preparation Time: 10 minutes
Cooking Time: 45-50 minutes
Total Time: 60 minutes
This timing represents 40 minutes to an hour of slow cooking – significantly longer than rushed methods that promise results in 7-10 minutes. This is super simple: you cook the onions on low heat for a long period of time, roughly about 45 minutes to an hour. While this may seem like a substantial time investment, the deep caramelization process cannot be rushed without compromising the complex flavor development that makes truly exceptional caramelized onions.
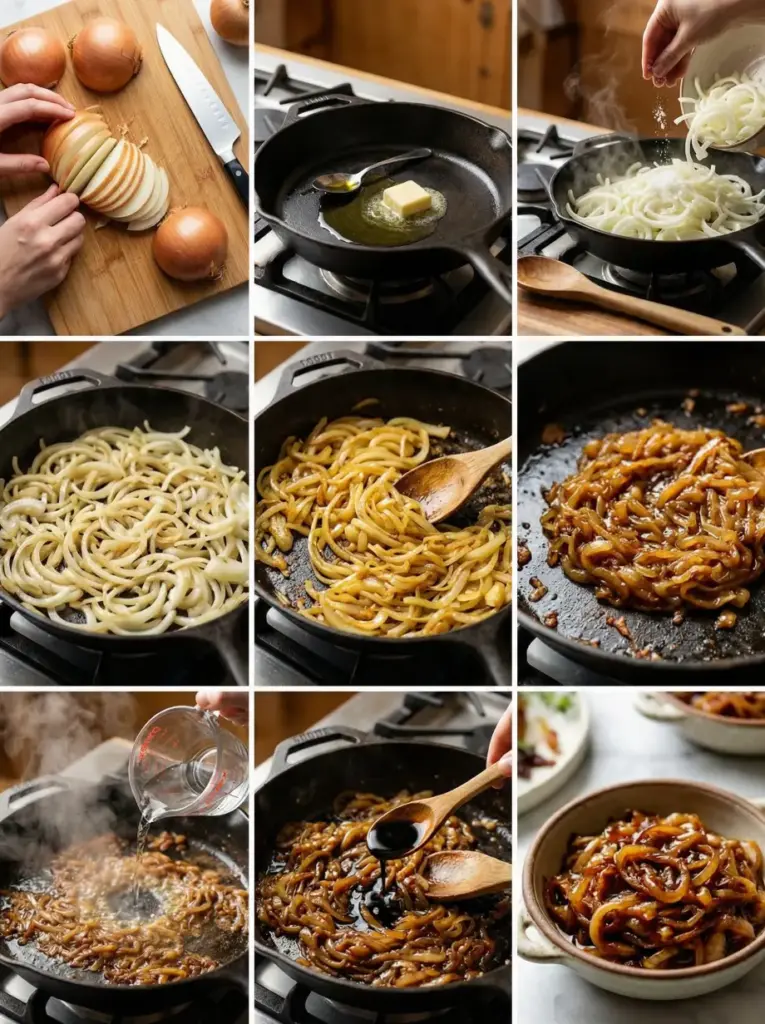
Step-by-Step Instructions
Step 1: Perfect Your Slice
Slice your onions pole-to-pole (from root to stem) into ¼-inch thick strips. Aim for the slices to be as even as possible so that they cook at the same rate. Before you add them to the pan, separate the onion layers. This technique ensures uniform cooking and prevents some pieces from burning while others remain undercooked.
Step 2: Create the Foundation
Heat olive oil (I use 2 tablespoons for 4 onions) in a large cast-iron skillet over medium heat. For our recipe, melt the butter in your heavy skillet over medium-low heat. The choice of pan is crucial – heavy-bottomed skillets distribute heat evenly and prevent hot spots.
Step 3: Begin the Transformation
Add your sliced onions and salt to the pan. Add the thinly sliced onions and cook for 5 minutes, stirring frequently, until the onions soften. Cook for exactly 5 minutes without stirring, allowing the onions to make initial contact with the heat source.
Step 4: The Patient Dance
Continue cooking for 40-50 minutes, stirring every 5 minutes. For most of the cooking process, the heat should be low or medium-low to prevent the onions from burning before they have a chance to soften and caramelize. However, once they’re brown and tender, I like to turn the heat up to medium, stirring constantly and scraping up the browned bits from the bottom of the pan, to get a little extra caramelization. Watch for that beautiful deep golden-brown color to develop.
Step 5: Rescue and Deglaze (Optional)
If onions begin to stick, deglaze with 1 tablespoon of water, scraping up any caramelized bits from the bottom of the pan. These fond bits add incredible depth to your final product.
Step 6: The Secret Finish
Remove from heat and stir in balsamic vinegar. This recipe includes the addition of some balsamic vinegar towards the end of cooking. The first is that it gives a touch of acid that really helps balance out the sweet and savory flavors. Adjust salt to taste and enjoy the aromatic masterpiece you’ve created.
Nutritional Information
Per ¼ cup serving:
- Calories: 178kcal
- Carbohydrates: 13g
- Protein: 1g
- Fat: 12g
- Saturated Fat: 2g
- Fiber: 2g
- Sugar: 6g
- Vitamin C: 10mg
- Potassium: 214mg
Health Benefits:
Nutritionally, onions are low in calories and contain vitamins C and B6, antioxidants, and dietary fiber. vitamins C, B6, folate and fiber; minerals molybdenum and manganese; powerful polyphenol antioxidants like quercetin; and sulfur-containing compounds. They have antibacterial properties and promote digestive health, which may improve immune function. While more research is necessary, onions may also offer possible health benefits such as lowering the risk of heart conditions and cancer.
Healthier Alternatives for the Recipe
Lower Fat Options:
- Replace butter with olive oil for the fat and are just as delicious!
- Use cooking spray for minimal fat content
- Try coconut oil for a subtle tropical note
Reduced Sodium Approaches:
- Decrease salt to ¼ teaspoon and rely on natural onion sweetness
- Caramelized onions are so flavorful which is helpful if you are trying to enjoy more vegetables, especially on a low sodium diet
Blood Sugar Friendly:
it’s important to note that the caramelization process can concentrate the natural sugars in onions, making them higher in sugar content than raw onions. Individuals with diabetes or those monitoring their sugar intake should consume caramelized onions in moderation. Consider using smaller portions or mixing with non-starchy vegetables.
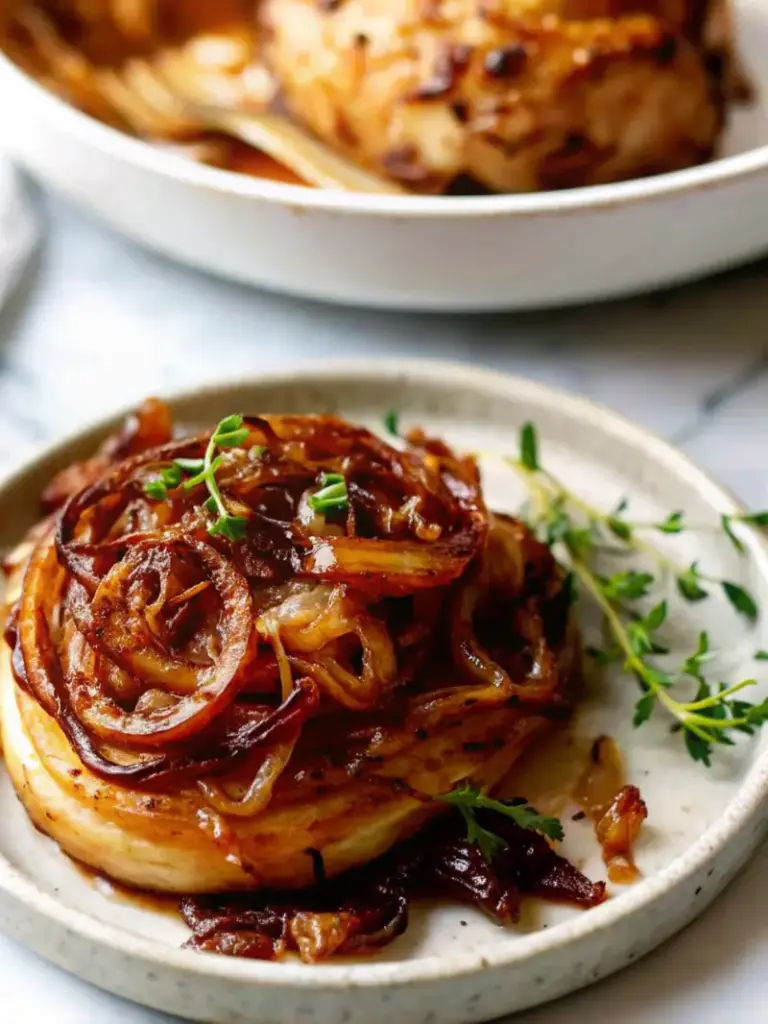
Serving Suggestions
Classic Applications:
Try piled high on sandwiches (especially good on a grilled cheese sandwich) a turkey sandwich or a burger. Serve along side or on top of beef, chicken, pork, fish and vegetarian recipes.
Gourmet Presentations:
- Serve over bruschetta, focaccia, even toast
- Add them to omelets, frittatas, quiches, and scrambled eggs
- Also, a great addition to savory tarts, casseroles, gratins and stuffings. You can flavor-up a baked potato, mashed potatoes, rice, risottos, pasta, quinoa, polenta, cornbread, scones, and make a dip
Creative Combinations:
- Add to salads whether its pasta, potato, a green salad, spinach salad, kale salad, and adds a nice sweetness to bitter greens
- Try them on a salad with goat cheese, apricot slices, and walnuts
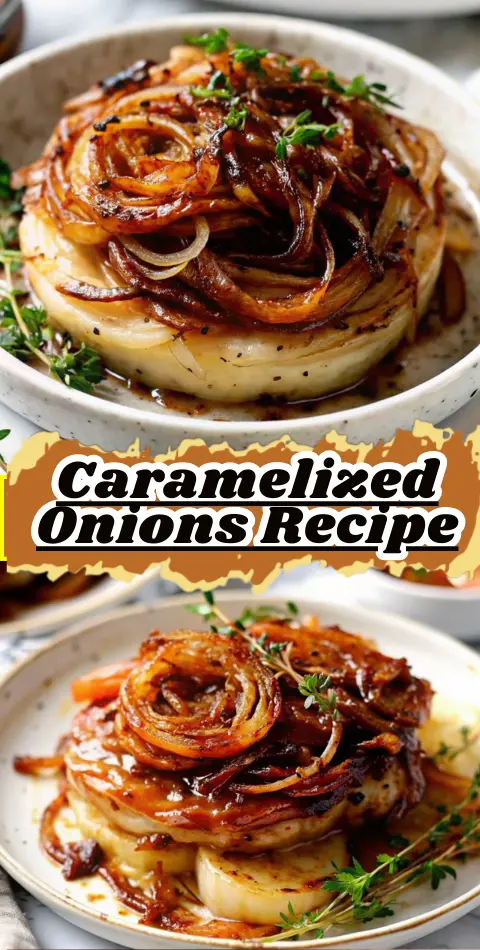
Remember it later!
Planning to try this recipe soon? Pin it for a quick find later!
Common Mistakes to Avoid
Temperature Troubles:
On my first attempt, I was impatient and I used too much heat. They weren’t as good. Low and slow is much better. Many home cooks rush the process by using high heat, resulting in burnt exteriors and raw interiors.
The Sugar Trap:
This isn’t a process that should be rushed, or doctored. Some cooks recommend adding sugar or baking soda to make the process go faster, but truely caramelized onions have the best flavor. Resist shortcuts that promise faster results.
Pan Selection Errors:
I love non-stick pans for making pancakes and eggs, but they’re not the best pick for caramelized onions. Heavy-bottomed pans like cast iron provide superior heat distribution.
Timing Misjudgments:
It seems like most recipes take only 7-10 minutes, some maybe 20 minutes. To me these are more like browned onions which are flavorful but not truly caramelized onions, which usually take 40 minutes to an hour.
Storing Tips for the Recipe
Refrigerator Storage:
Caramelized onions keep well in the refrigerator for about 5 days or so. If you are storing them in the fridge, make certain you place them in an airtight container or plastic bag. Let them cool first so they don’t end up a mushy mess from all the steamy condensation that can ensue if they are too warm when you seal them up.
Freezer Options:
They also can be frozen for up to 3 months. When ready to use defrost overnight. For convenient portioning, Portion out the onions into ice cube trays and don’t be afraid to pack them in. The smaller portions make it easy to use exactly what we need, plus the onions thaw more quickly in the pan.
Professional Storage Techniques:
Just throw them all into a freezer bag that’s big enough for it to spread into an even, thin layer (keep it to no more than 1/2-inch thick). When you need caramelized onions, just break off a frozen chunk straight from the bag!
Conclusion
Flavorful caramelized onions represent the perfect marriage of patience and technique, transforming humble onions into golden, sweet-savory perfection through slow caramelization. This 60-minute investment yields restaurant-quality results that elevate everything from sandwiches to gourmet dishes with complex umami flavors.
Ready to transform your cooking? Try this foolproof recipe and share your results in our comment section below! Don’t forget to subscribe for more kitchen techniques and flavor-packed recipes that will revolutionize your home cooking game.
FAQs
Q: Can I speed up the caramelization process?
A: This isn’t a process that should be rushed, or doctored. Some cooks recommend adding sugar or baking soda to make the process go faster, but truely caramelized onions have the best flavor. Authentic caramelization requires patience for optimal results.
Q: Why do my onions burn instead of caramelize?
A: This usually indicates too high heat. For most of the cooking process, the heat should be low or medium-low to prevent the onions from burning before they have a chance to soften and caramelize.
Q: How many onions do I need for a large batch?
A: Caramelized onions also cook down a lot, so it’s worth it to make a big a batch as you can. We’ve found that 4 big pomegranate-sized onions caramelize into just a scant 2 cups, so go big!
Q: Can I make caramelized onions ahead of time?
A: Absolutely! Make plenty as they keep refrigerated about a week and can be frozen for about 3 months so you can always have some on hand.
Q: What’s the best type of onion for caramelizing?
A: For caramelizing, I usually prefer yellow onions because they’re versatile and have the right balance of sweetness and flavor. Sweet onions like Vidalia are also a great option for a more intensely sweet taste.
Easy Flavorful Caramelized Onions Recipe
- Total Time: 60 minutes
- Yield: 2 cups 1x
- Diet: Vegetarian
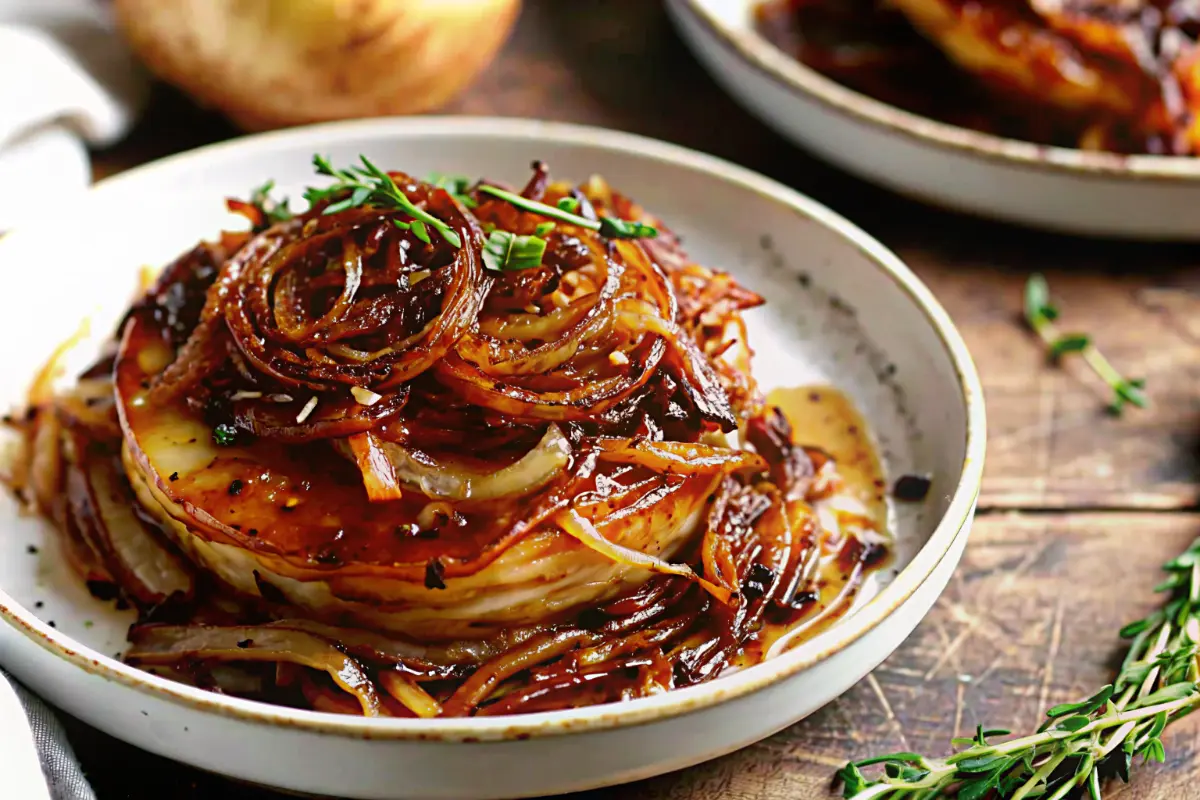
Description
Flavorful Caramelized Onions are slowly cooked until golden, sweet, and deeply savory. This simple technique transforms everyday onions into an umami-rich topping that elevates sandwiches, burgers, pastas, eggs, and countless other dishes.
Ingredients
- 2 large yellow onions, thinly sliced
- 2 tablespoons unsalted butter
- 1/2 teaspoon salt
- 1 teaspoon balsamic vinegar
Instructions
- Slice onions pole-to-pole into 1/4-inch strips and separate layers.
- Melt butter in a heavy-bottomed skillet over medium-low heat.
- Add onions and salt, cooking for 5 minutes until softened.
- Continue cooking for 40–50 minutes, stirring every 5 minutes until deep golden brown.
- Deglaze pan with 1 tablespoon water if onions begin to stick.
- Remove from heat and stir in balsamic vinegar. Adjust salt to taste.
Notes
Low and slow heat is key for true caramelization. Avoid rushing the process for the best flavor.
- Prep Time: 10 minutes
- Cook Time: 50 minutes
- Category: Side Dish
- Method: Stovetop
- Cuisine: American
Nutrition
- Serving Size: 1/4 cup
- Calories: 178
- Sugar: 6g
- Sodium: 150mg
- Fat: 12g
- Saturated Fat: 2g
- Unsaturated Fat: 10g
- Trans Fat: 0g
- Carbohydrates: 13g
- Fiber: 2g
- Protein: 1g
- Cholesterol: 10mg
Keywords: flavorful caramelized onions, caramelized onions recipe, how to caramelize onions