Have you ever wondered why homemade bread tastes infinitely better than store-bought loaves, yet so many home bakers hesitate to try a simple bread recipe? The truth is, making fresh bread at home is far easier than most people believe—and it takes just about 2-3 hours from start to finish.
A simple bread recipe requires only basic ingredients and minimal experience, making it the perfect starting point for anyone wanting to explore the rewarding world of home baking. Whether you’re a complete beginner or someone who’s intimidated by baking, this guide will walk you through creating a delicious, fluffy loaf using a straightforward method that produces professional-quality results every single time.
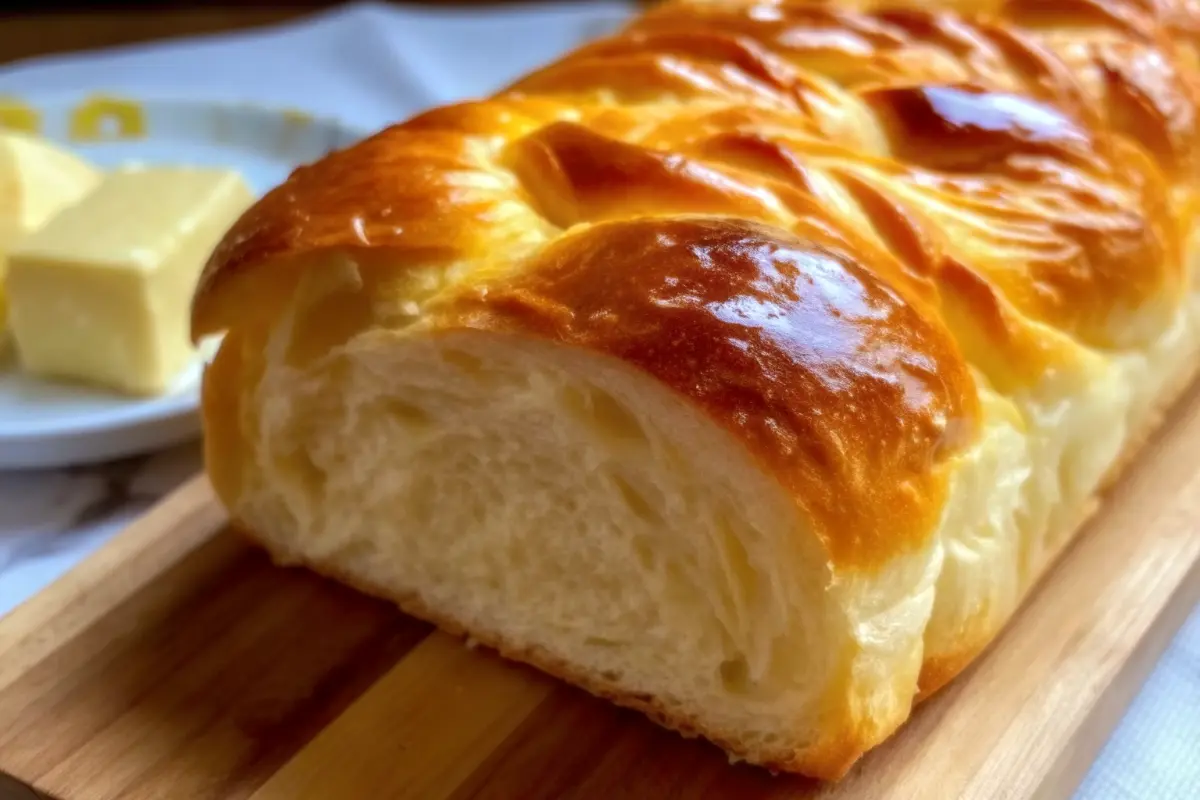
The beauty of a simple bread recipe lies in its simplicity: just flour, water, yeast, salt, sugar, and butter. No complicated techniques, no fancy equipment required. In fact, many successful bakers started with the exact recipe you’re about to learn. Let’s dive into everything you need to know to bake your first (or next) perfect loaf.
Ingredients List
For this classic simple bread recipe, you’ll need:
- 3 ½ cups all-purpose flour or bread flour – All-purpose flour works beautifully for a tender crumb, while bread flour creates a chewier, more structured loaf. Choose based on your texture preference.
- 1 ¼ cups warm water (100-110°F / 37-43°C) – Temperature matters significantly here. Too-hot water kills the yeast; too-cold water prevents proper fermentation. Use a thermometer for accuracy.
- 2 ¼ teaspoons active dry yeast (1 packet) – One standard packet contains exactly this amount. Ensure your yeast hasn’t expired for the best rise.
- 2 tablespoons sugar or honey – Sugar feeds the yeast and enhances browning. Honey adds subtle complexity and natural sweetness.
- 1 teaspoon salt – Salt strengthens gluten development and balances flavors (don’t skip this step).
- 2 tablespoons melted butter or vegetable oil – Butter provides richness and flavor; vegetable oil creates a lighter crumb. Both work wonderfully.
Substitution Suggestions: If you’re out of honey, swap it for sugar or even mashed banana for natural sweetness. For a dairy-free version, use olive oil or coconut oil instead of butter. Whole wheat flour can replace up to 30% of the all-purpose flour for added nutrition and earthiness.
Timing
Understanding the time investment helps you plan your baking day effectively:
- Prep Time: 10-15 minutes
- First Rise: 60-90 minutes (until dough doubles)
- Shaping & Resting: 5 minutes
- Second Rise: 30-45 minutes (until puffy)
- Baking Time: 25-30 minutes
- Cooling Time: 10 minutes minimum
Total Time: Approximately 2.5-3 hours
This timeline is roughly 20% faster than many traditional bread recipes, making it ideal for weeknight baking or weekend projects. The actual hands-on time is minimal—perhaps 15-20 minutes total—with the rest being passive rising time, which you can spend on other activities.
Step-by-Step Instructions
Step 1: Activate the Yeast – Building Your Foundation
In a large bowl, combine your warm water, yeast, and sugar or honey. Whisk gently to combine all three ingredients. This step, called “proofing,” is absolutely crucial—it activates the yeast and confirms it’s alive and ready to work. Let the mixture sit undisturbed for 5-10 minutes. You’ll notice it becoming foamy and bubbly, with a pleasant yeasty aroma developing. This foam indicates healthy, active yeast. If your mixture doesn’t foam after 10 minutes, your yeast has died, and you’ll need to start over with fresh yeast.
Pro Tip: Save time by combining all your dry ingredients (flour and salt) in a separate bowl while the yeast proofs. This keeps your workflow smooth and prevents waiting around.
Step 2: Mix the Dough – Bringing Everything Together
Pour your foamy yeast mixture into your mixing bowl (or add the dry ingredients to the wet mixture—either approach works). Add the flour, salt, and melted butter or oil. Using a wooden spoon or sturdy whisk, stir vigorously until a shaggy, rough dough forms. You’ll notice the dough won’t look perfectly smooth at this stage—that’s completely normal and expected. This is when you can add any optional mix-ins like dried herbs, seeds, or cheese.
Actionable Tip: Mix for about 1-2 minutes after all flour is incorporated. Overmixing at this stage doesn’t develop gluten; that happens during kneading.
Step 3: Knead the Dough – Developing Texture and Strength
Transfer your dough to a lightly floured surface. This is where the magic happens. Knead by pushing the dough away from you with the heel of your hand, folding it back, turning it a quarter turn, and repeating. This rhythmic motion develops gluten strands, which create that desirable chewy-yet-tender crumb structure we all love.
Knead for 8-10 minutes using this hand method, or 5-6 minutes with a stand mixer fitted with a dough hook on medium speed. You’ll notice the transformation: the dough gradually becomes smoother, springier, and more elastic. A simple test: poke the dough gently with a floured finger. If the indent springs back slowly, you’re done kneading.
Insider Knowledge: Properly kneaded dough should feel slightly tacky but not sticky to the touch. If it’s extremely sticky, dust with a tablespoon of flour and continue kneading.
Step 4: First Rise – Patience Pays Off
Place your kneaded dough in a lightly greased bowl, rotating it to coat all sides with oil. This prevents a dry crust from forming. Cover the bowl with a damp cloth or plastic wrap and place it in a warm location—ideally 75-80°F. Good spots include a turned-off oven with the light on, a sunny windowsill, or a warm corner of your kitchen.
Let the dough rise for 60-90 minutes, or until it has visibly doubled in size. This timing varies based on your kitchen’s temperature. On a warm day, it might take only 60 minutes; on cooler days, up to 90 minutes is normal. The dough is ready when gently pressing it leaves a slight indentation that doesn’t spring back completely.
Creative Touch: During this rise, prepare a cozy environment. Some bakers place the bowl in a slightly warm oven or near a sunny window for optimal rising conditions.
Step 5: Shape the Dough – Creating Your Loaf
Once your dough has doubled, it’s time to shape. Punch down the dough gently but firmly to release excess gas—this prevents large air pockets in your final loaf. Transfer it to a lightly floured surface. Using your hands, shape the dough into a rough rectangle about 8 inches long. Fold the dough in thirds lengthwise (like folding a letter), pressing gently to seal. Roll the dough tightly, creating a seal along the bottom.
Place your shaped loaf seam-side down into a greased 9×5-inch loaf pan. This traditional size produces a perfectly proportioned loaf ideal for sandwiches and toast.
Shaping Success: Gentle handling creates an even texture. Rough handling or excessive pressure creates dense spots, so work with care and confidence.
Step 6: Second Rise – The Final Stretch
Cover your loaf pan with a damp cloth or plastic wrap and let it rise again for 30-45 minutes, or until the dough rises about an inch above the rim of the pan. This second rise, called “proofing,” ensures your bread bakes up light and airy rather than dense.
Step 7: Bake – Transforming Dough into Bread
Preheat your oven to 375°F (190°C) about 15 minutes before baking. Bake your loaf for 25-30 minutes until the top turns golden brown. The crust should be crispy and deeply colored. To verify doneness, carefully tap the bottom of the loaf—it should sound hollow. The internal temperature should reach 190-200°F when measured with an instant-read thermometer inserted into the center.
Baking Insight: If your loaf browns too quickly, tent it loosely with foil for the remaining baking time.
Step 8: Cool & Serve – Patience for Perfection
Remove your loaf from the oven and let it cool in the pan for 10 minutes. This allows the interior to set slightly, making slicing easier. Transfer the loaf to a wire cooling rack for at least 20-30 minutes before slicing. Cutting warm bread results in a gummy texture, so resist the urge to slice immediately—your patience will be rewarded with perfectly sliced pieces.

Nutritional Information
Per serving (1 slice, based on 24 servings per loaf):
- Calories: 130-140 kcal
- Protein: 3-4g
- Carbohydrates: 25-27g
- Dietary Fiber: 1g
- Fat: 2-3g (mostly from butter/oil)
- Sodium: 180-200mg
- Sugar: 1-2g (from added sugar and natural fermentation breakdown)
This simple bread recipe provides excellent energy through complex carbohydrates and offers a modest protein contribution, making it suitable for most dietary approaches when consumed in moderation.
Healthier Alternatives for the Recipe
Whole Grain Boost: Replace 1 cup of all-purpose flour with whole wheat flour for added fiber and nutrients. This creates a denser, nuttier-flavored loaf.
Reduced Sugar Version: Cut sugar to 1 tablespoon if you prefer less sweetness. The bread will rise slightly more slowly but will still turn out beautifully.
Ancient Grain Addition: Substitute 1 cup of flour with spelt or einkorn flour for a more complex flavor profile and improved mineral content.
Seed-Studded Loaf: Add ¼ cup mixed seeds (sunflower, flax, sesame) to the dough for crunch, nutrition, and visual appeal.
Low-Sodium Option: For a saltless loaf, simply omit the salt. Your bread will bake normally but will lack the depth that salt provides.
Serving Suggestions
- Classic Toast: Slice, toast, and top with butter, jam, or nut butter for a satisfying breakfast
- Sandwich Base: Use slightly cool bread for optimal sandwich structure—it won’t crumble or fall apart
- Bread Salad: Cube day-old bread for panzanella or fattoush salads
- Breadcrumbs: Dry leftover bread and pulse into homemade panko for coating proteins or topping casseroles
- Garlic Bread: Slice, brush with garlic-herb butter, and broil for an irresistible side dish
- Bread Pudding: Transform stale bread into a sweet or savory bread pudding
- Croutons: Cube, toss with oil and seasonings, and toast for salad toppings
Common Mistakes to Avoid
Mistake 1: Water Temperature Issues
Using water that’s too hot (above 120°F) kills yeast; too cold (below 95°F) slows fermentation dramatically. Solution: Always use a thermometer.
Mistake 2: Skipping the Salt
Salt isn’t just for flavor—it strengthens gluten and controls fermentation. Omitting it results in a bland, overly open crumb structure.
Mistake 3: Inconsistent Rising Temperatures
Yeast thrives between 75-80°F. A cold kitchen dramatically extends rise times, while excessive heat speeds fermentation and can produce overly sour bread.
Mistake 4: Inadequate Kneading
Skipping or shortening the kneading step prevents proper gluten development, resulting in a dense, gummy crumb.
Mistake 5: Cutting Before Cooling
Slicing too soon traps steam inside the loaf, creating a gummy, uneven texture.
Mistake 6: Using Old or Expired Yeast
Always check expiration dates. Dead yeast won’t proof or rise, leaving you with a dense, flat brick.
Storing Tips for the Recipe
Room Temperature Storage: Keep your cooled loaf in an airtight container or bread box for 3-5 days. Paper bags retain crust crispiness but don’t preserve freshness as long as sealed containers.
Refrigerator Storage: For extended freshness, wrap the cooled loaf tightly in plastic wrap and refrigerate for up to 10 days. This dramatically slows mold growth and staling.
Freezer Storage: Slice the bread before freezing for convenient portioning. Wrap tightly in plastic wrap and aluminum foil, then freeze for up to 3 months. Toast slices directly from frozen for fresh-tasting bread anytime.
Refreshing Stale Bread: Wrap old bread in a damp paper towel and heat in a 350°F oven for 5-10 minutes to revive crust and crumb structure temporarily.
Dough Prep-Ahead: Prepare dough through step 4, then refrigerate for up to 24 hours. The cold rise develops deeper flavor. Bring to room temperature before proceeding with shaping.
Conclusion
Making a simple bread recipe at home is an achievable goal for any home cook. With just eight basic steps, fundamental ingredients, and 2-3 hours of time, you’ll create fresh, delicious bread that surpasses anything from a bakery shelf. Success comes from understanding temperature, respecting timing, and following instructions carefully. Start with this foolproof recipe, master the technique, and you’ll build confidence to experiment with variations and creative additions.
Call to Action: Try this simple bread recipe this week and experience the joy of fresh-baked bread in your home. Share your results in the comments section below—we’d love to see your beautiful loaves! Subscribe to our newsletter for exclusive baking tips, troubleshooting advice, and more simple bread recipes delivered straight to your inbox.

FAQs
Q: Can I use instant yeast instead of active dry yeast?
A: Yes! Instant yeast (also called bread machine yeast) is finer and works slightly faster. Use the same amount, though your rise time may be 10-15 minutes shorter. Rapid-rise yeast works similarly.
Q: My dough didn’t rise. What went wrong?
A: Most commonly, your yeast is dead or the temperature was too cold. Always check yeast expiration dates and proof in a warm environment (75-80°F). If proofing the yeast didn’t create foam, start over with fresh yeast.
Q: Can I make this in a bread machine?
A: Absolutely! Add ingredients in the order your machine manual recommends (typically liquids first), select the basic white bread cycle, and let the machine handle mixing, kneading, and rising. Baking usually happens in your oven afterward.
Q: Why is my bread dense and heavy?
A: Dense crumb usually results from inadequate kneading, insufficient rising time, or water that was too hot. Ensure proper kneading (8-10 minutes), allow full rise times, and use correct water temperature.
Q: How do I know if my bread is fully baked?
A: The crust should be golden brown, the bottom should sound hollow when tapped, and an instant-read thermometer inserted into the center should read 190-200°F.
Q: Can I use honey instead of sugar?
A: Yes! Use equal amounts. Honey adds subtle depth and browning slightly faster due to its higher moisture content. The bread will be marginally softer and stay fresh slightly longer.
Q: What if I don’t have a loaf pan?
A: Shape the dough into a round, free-form loaf and bake on a parchment-lined baking sheet. It will spread more than a loaf-pan version but bakes successfully with the same timing.

Easy Bread Recipe for Beginners – Perfect Every Time
- Total Time: 2 hours 30 minutes
- Yield: 1 loaf (24 slices) 1x
- Diet: Vegetarian
Description
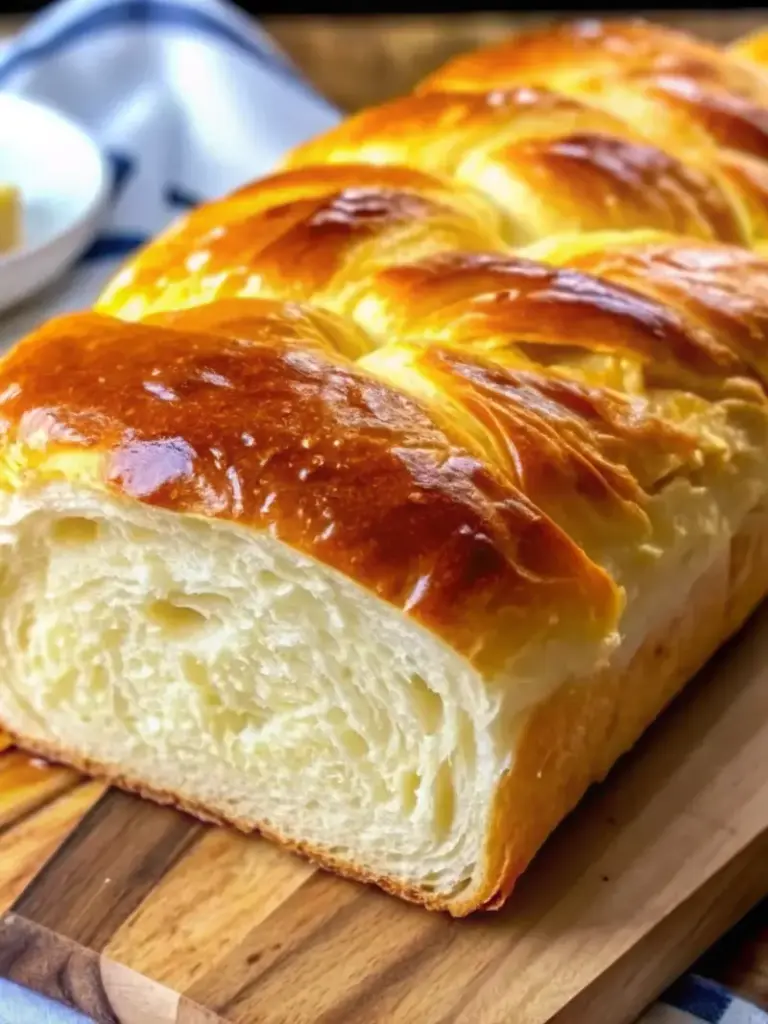
Discover how to bake soft, fluffy homemade bread with this simple step-by-step guide. Using just six basic ingredients, this foolproof recipe is perfect for beginners and produces a golden, delicious loaf every time.
Ingredients
- 3 ½ cups all-purpose or bread flour
- 1 ¼ cups warm water (100–110°F / 37–43°C)
- 2 ¼ tsp active dry yeast (1 packet)
- 2 tbsp sugar or honey
- 1 tsp salt
- 2 tbsp melted butter or vegetable oil
Instructions
- Activate Yeast: In a large bowl, combine warm water, yeast, and sugar (or honey). Let sit for 5–10 minutes until foamy.
- Mix Dough: Add flour, salt, and melted butter or oil. Stir until a rough, shaggy dough forms.
- Knead: Turn dough onto a floured surface and knead for 8–10 minutes by hand (or 5–6 minutes with a mixer) until smooth and elastic.
- First Rise: Place dough in a greased bowl, cover, and let rise in a warm place for 60–90 minutes, until doubled in size.
- Shape Loaf: Punch down dough, shape into a loaf, and place seam-side down in a greased 9×5-inch loaf pan.
- Second Rise: Cover and let rise 30–45 minutes, until dough rises about 1 inch above the rim.
- Bake: Preheat oven to 375°F (190°C). Bake for 25–30 minutes until golden brown and hollow-sounding when tapped.
- Cool: Let loaf cool in pan for 10 minutes, then transfer to a wire rack for at least 20 minutes before slicing.
Notes
For best results, ensure water temperature is between 100–110°F. Too-hot water kills yeast, while too-cold water slows fermentation. Kneading and patience during rising are key to a light, fluffy loaf.
- Prep Time: 15 minutes
- Cook Time: 30 minutes
- Category: Bread
- Method: Baked
- Cuisine: American
Nutrition
- Serving Size: 1 slice (of 24)
- Calories: 135
- Sugar: 2g
- Sodium: 190mg
- Fat: 2.5g
- Saturated Fat: 1g
- Unsaturated Fat: 1.5g
- Trans Fat: 0g
- Carbohydrates: 26g
- Fiber: 1g
- Protein: 3.5g
- Cholesterol: 5mg
Keywords: simple bread recipe, easy homemade bread, beginner bread, white bread loaf, basic bread dough