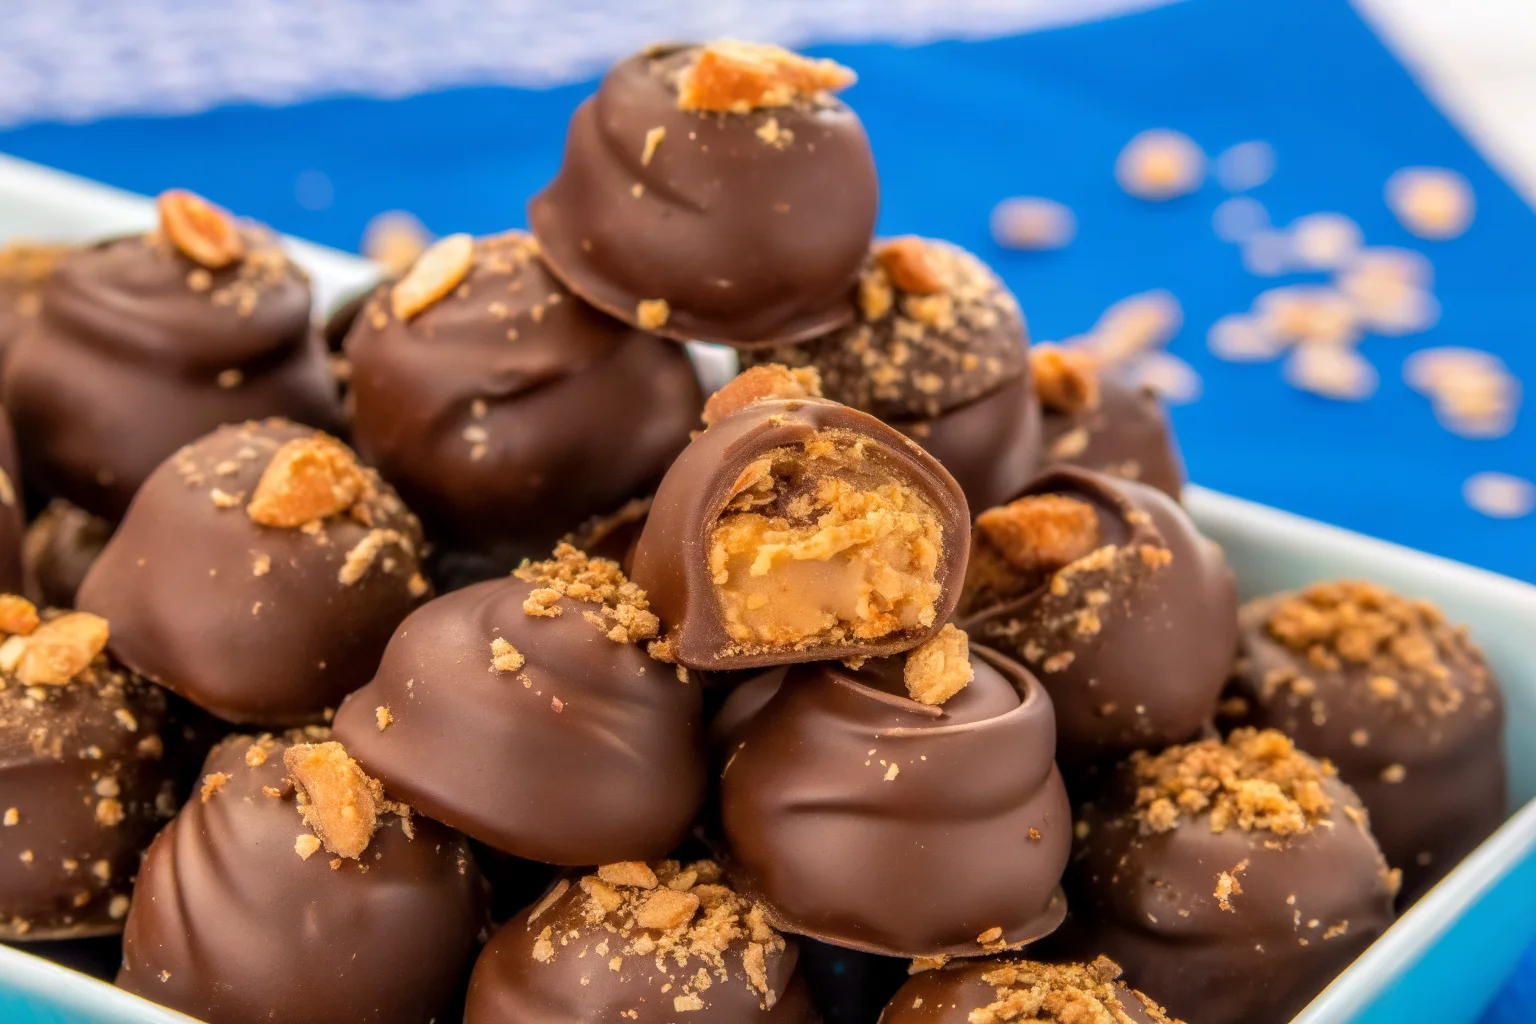
Are you craving a decadent, bite-sized treat that perfectly combines the irresistible crunch of Butterfingers with creamy, melt-in-your-mouth goodness? If so, the Butterfinger Balls recipe might just be the answer to your sweet tooth’s wishes! These delightful little bites are incredibly easy to make and require minimal ingredients, making them perfect for a fun family treat or even as a gift to surprise someone special. Whether you’re hosting a party or simply indulging in something sweet, these Butterfinger Balls will quickly become a favorite. Read on to discover everything you need to know about this amazing recipe and how to customize it to suit your taste.

Ingredients List
Making Butterfinger Balls is incredibly simple with just a handful of ingredients, yet the result is absolutely delicious. Here’s everything you need to get started:
- 1 cup of Butterfinger crumbs (you can easily crush Butterfinger candy bars or use store-bought Butterfinger bits)
- 1 cup of creamy peanut butter (smooth works best, but chunky adds a nice texture)
- 2 cups of powdered sugar (for a sweet, melt-in-your-mouth texture)
- 2 cups of graham cracker crumbs (you can substitute with digestive biscuits for a slightly different flavor)
- 1-2 cups of milk or semi-sweet chocolate chips (for coating the balls)
- 1 tsp of vanilla extract (optional for extra flavor)
Substitutions:
- If you prefer a dairy-free option, swap the chocolate chips with a non-dairy chocolate variety and use a peanut butter alternative.
- For a healthier twist, use whole wheat graham crackers or swap out some of the powdered sugar with a natural sweetener like Stevia or Monk Fruit sweetener.
The combination of these ingredients creates the perfect balance of salty, sweet, and crunchy, giving your taste buds a delightful treat with every bite.
Timing
- Preparation Time: 20 minutes
- Chilling Time: 30-60 minutes (depending on the fridge temperature and the size of the balls)
- Total Time: 50-80 minutes
This recipe is quick and easy, and with an overall prep time that’s about 20% less than the average candy ball recipe, you can create your delicious Butterfinger Balls in no time. Just a bit of patience is required for the chilling process to allow the flavors to meld together perfectly!
Step-by-Step Instructions
Creating Butterfinger Balls involves simple steps, but each one adds to the magic of this recipe. Follow these easy-to-understand instructions, and you’ll have delicious candy balls in no time.
Step 1: Prepare the Butterfinger Crumbs
Begin by crushing your Butterfinger bars (or using pre-crushed Butterfinger bits). You can place them in a resealable bag and use a rolling pin to crush them until you have about 1 cup of crumbs. This texture should resemble small chunks or crumbs that will blend seamlessly with the rest of the ingredients.
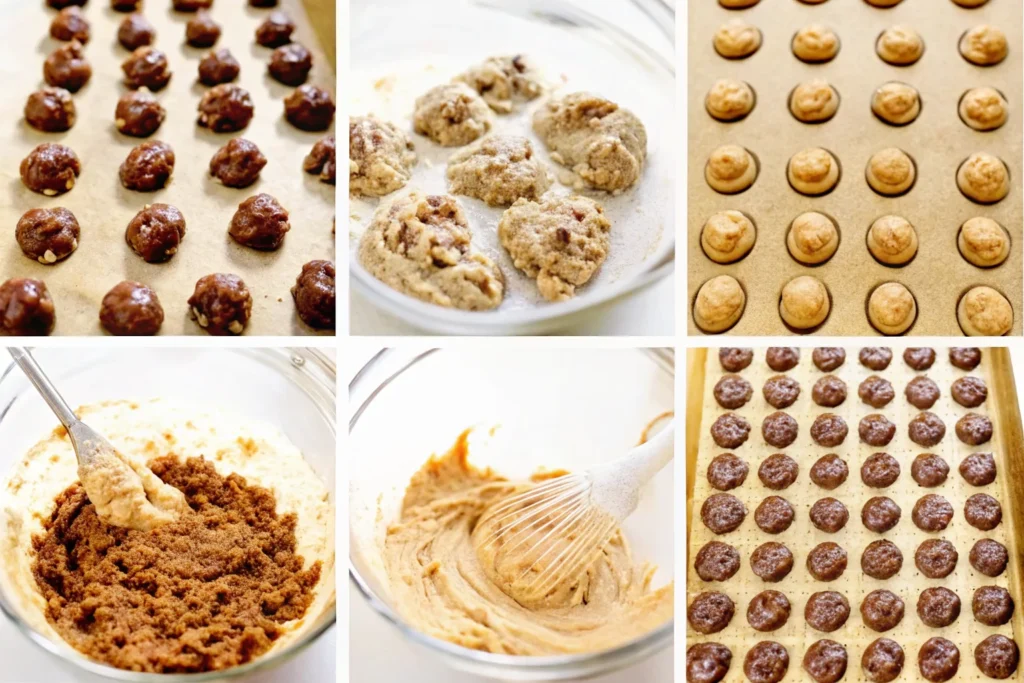
Step 2: Mix the Base
In a large mixing bowl, combine the peanut butter, graham cracker crumbs, and powdered sugar. Add the Butterfinger crumbs into the bowl, and stir everything together until fully combined. The consistency should be dough-like—sticky but firm enough to hold shape. If it’s too dry, add a little more peanut butter; if it’s too sticky, add a bit more powdered sugar or graham cracker crumbs.
Step 3: Shape the Balls
Once the mixture is thoroughly mixed, take about a tablespoon of the mixture and roll it between your palms to form small, bite-sized balls. If you prefer larger portions, feel free to adjust the size, but smaller balls tend to be easier to eat and great for serving at parties.
Step 4: Chill the Balls
Place the shaped balls on a parchment-lined baking sheet and refrigerate for at least 30-60 minutes. This step ensures that the balls firm up and are easier to dip in chocolate without losing their shape. You can leave them in the fridge longer for a firmer texture, but don’t worry if you’re in a rush—just 30 minutes should suffice.
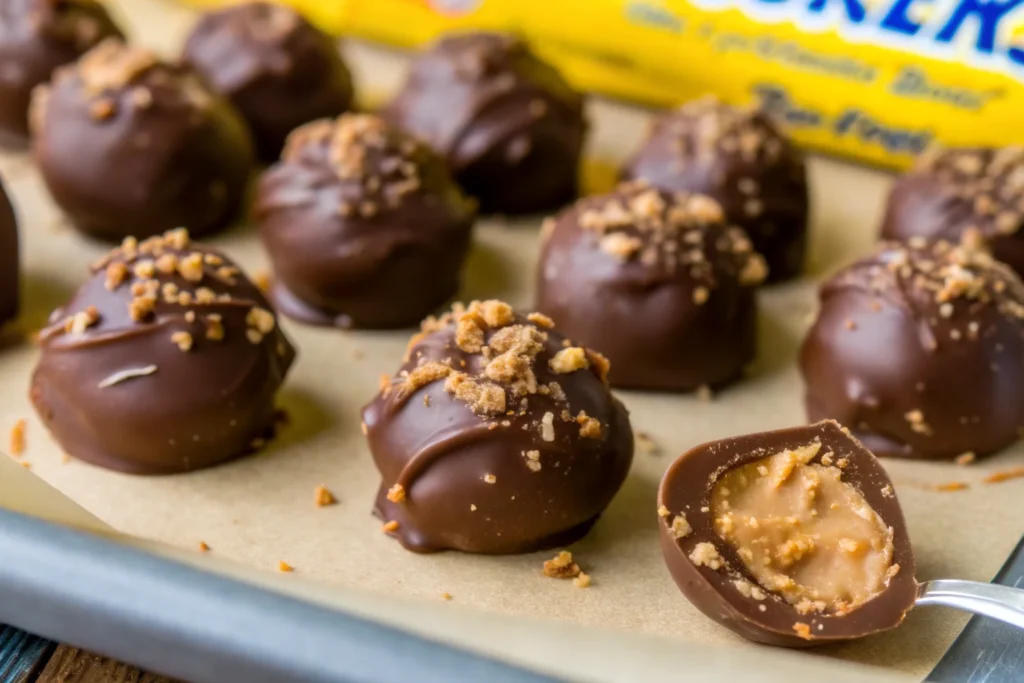
Step 5: Coat in Chocolate
Melt the chocolate chips (milk or semi-sweet) in a heatproof bowl over a double boiler or in the microwave (stirring every 20-30 seconds to prevent burning). Once the chocolate is smooth, dip each chilled Butterfinger ball into the melted chocolate, ensuring it’s evenly coated. Use a fork or a toothpick to hold the ball while dipping, then gently shake off any excess chocolate.
Step 6: Let the Coating Set
Place the chocolate-coated balls back on the parchment-lined tray and return them to the fridge for another 10-15 minutes, or until the chocolate hardens. This final step ensures the chocolate coating stays firm and glossy, giving you that irresistible finish.
Nutritional Information
These Butterfinger Balls are undeniably delicious, but they also pack a lot of flavor and calories. Here’s a general breakdown of the nutrition per serving (assuming you make 20 balls):
- Calories: 150-180 kcal (varies depending on size and chocolate coating)
- Protein: 3g
- Fat: 10g
- Saturated Fat: 2g
- Carbohydrates: 15g
- Sugars: 12g
- Fiber: 1g
- Cholesterol: 2mg
- Sodium: 75mg
These values are approximate and can vary depending on the specific ingredients used, especially if you make any substitutions like using alternative sweeteners or dairy-free chocolate.
Healthier Alternatives for the Recipe
Want to make these Butterfinger Balls a bit healthier without sacrificing flavor? Here are some simple swaps you can make:
- Use natural peanut butter: Skip the hydrogenated oils in regular peanut butter and opt for natural peanut butter with no added sugar. This reduces the amount of added sugars and unhealthy fats in the recipe.
- Use dark chocolate: Dark chocolate has less sugar and more antioxidants than milk chocolate, offering a slightly healthier alternative while still providing that rich, indulgent flavor.
- Opt for a lower-sugar graham cracker: Some brands offer graham crackers with less sugar or even whole-grain options, which can boost the fiber content of this recipe.
- Try a plant-based butter alternative: If you’re avoiding dairy, a plant-based butter (like almond butter or cashew butter) can be used to replace peanut butter in the base recipe for a unique twist.
Serving Suggestions
These Butterfinger Balls are versatile and easy to serve in a variety of ways:
- For a party: Arrange them on a decorative plate with a drizzle of melted chocolate or a dusting of powdered sugar for extra flair.
- As a gift: Package them in a cute box or mason jar, tied with a ribbon. They make an ideal homemade gift for birthdays, holidays, or special occasions.
- Pair with coffee or milk: The rich flavor of these balls pairs wonderfully with a cup of coffee, a glass of milk, or even a dessert wine for an added touch of elegance.
Common Mistakes to Avoid
To ensure your Butterfinger Balls turn out perfectly every time, here are some common pitfalls to watch out for:
- Too sticky? If your mixture is too wet, it will be difficult to shape the balls. Add a bit more powdered sugar or graham cracker crumbs to fix this.
- Chocolate not coating well? Ensure the chocolate is melted smoothly. If it’s too thick, thin it with a small amount of coconut oil or milk.
- Not chilling long enough? Allowing the balls to chill ensures they firm up and the chocolate coating stays intact. Skipping this step could cause the balls to lose their shape when dipped in chocolate.
Storing Tips for the Recipe
These Butterfinger Balls are best stored in an airtight container to keep them fresh. Here are some tips for optimal storage:
- Room temperature: They can last for about 1 week when stored at room temperature, but be mindful of humidity and heat which can cause the chocolate to melt.
- Refrigerator: For longer storage, keep them in the fridge for up to 2 weeks. This will maintain the firmness and flavor of both the balls and the chocolate coating.
- Freezing: You can freeze these balls for up to 3 months. Simply place them in a freezer-safe container or bag, separating layers with parchment paper.
Conclusion
In summary, the Butterfinger Balls recipe is a simple yet delectable treat that combines the flavors of buttery peanut butter, crunchy Butterfingers, and rich chocolate. Whether you’re making them for a party, as a gift, or for an everyday indulgence, these little bites are guaranteed to impress. Try this recipe today, and don’t forget to share your results in the comments section or leave a review!
FAQs
Can I make these Butterfinger Balls in advance?
Yes! You can make the balls ahead of time and store them in the fridge or freezer for later. This is perfect for preparing snacks for parties or meal prepping.
What’s the best way to crush Butterfinger bars?
To crush Butterfinger bars, you can use a resealable plastic bag and a rolling pin or place the bars in a food processor for quick, even crumbs.
Can I use crunchy peanut butter instead of smooth?
Yes, using crunchy peanut butter will add a little extra texture, making the balls even more satisfying to eat.

Butterfinger Balls Recipe: A Delightful, Irresistible Sweet Treat
- Total Time: 50-80 minutes
- Yield: About 20 balls 1x
Description
Indulge in the delicious combination of creamy peanut butter, crunchy Butterfinger bits, and smooth chocolate with this easy-to-make Butterfinger Balls recipe. Perfect for any occasion, these bite-sized treats are sure to satisfy your sweet tooth!
Ingredients
- 1 cup of Butterfinger crumbs (crushed Butterfinger bars or pre-crushed Butterfinger bits)
- 1 cup of creamy peanut butter (smooth is best)
- 2 cups of powdered sugar
- 2 cups of graham cracker crumbs (or digestive biscuits as an alternative)
- 1–2 cups of chocolate chips (milk or semi-sweet, for coating)
- 1 tsp vanilla extract (optional)
Instructions
Prepare Butterfinger Crumbs:
Crush your Butterfinger bars (or use pre-crushed Butterfinger bits) until you have about 1 cup of crumbs. These should be small chunks or fine crumbs.Mix the Base:
In a large mixing bowl, combine peanut butter, graham cracker crumbs, powdered sugar, and Butterfinger crumbs. Stir until the mixture forms a dough-like consistency that is sticky but firm enough to hold its shape.Shape the Balls:
Roll the mixture into small balls, about 1 tablespoon in size, using your hands. Adjust the size if desired, but smaller balls are easier to handle.Chill the Balls:
Place the balls on a parchment-lined baking sheet and refrigerate for at least 30-60 minutes, or until firm.Coat with Chocolate:
Melt chocolate chips in a heatproof bowl over a double boiler or in the microwave, stirring every 20-30 seconds. Dip each chilled ball into the melted chocolate, ensuring it is fully coated. Place the chocolate-covered balls back on the parchment paper.
Let the Coating Set:
Return the balls to the fridge for another 10-15 minutes, or until the chocolate coating is set and firm.
Notes
- Substitutions: Use natural peanut butter for a healthier option, or swap chocolate with dairy-free varieties for a vegan version. You can also use a sugar substitute in place of powdered sugar for a low-carb alternative.
- Storage: Store the balls in an airtight container in the fridge for up to 2 weeks, or freeze them for up to 3 months.
- Prep Time: 20 minutes
- Cook Time: 15 minutes
- Category: Dessert
- Method: No-Bake
- Cuisine: American
Keywords: Butterfinger balls, no-bake dessert, sweet treats, chocolate-coated balls, easy Butterfinger recipe, peanut butter dessert