Did you know that pears are low in calories, high in water, and packed with fiber, making this combination a weight loss-friendly food, as fiber and water can help keep you full? Yet most home cooks overlook this versatile fruit when making preserves, defaulting to apple butter instead.
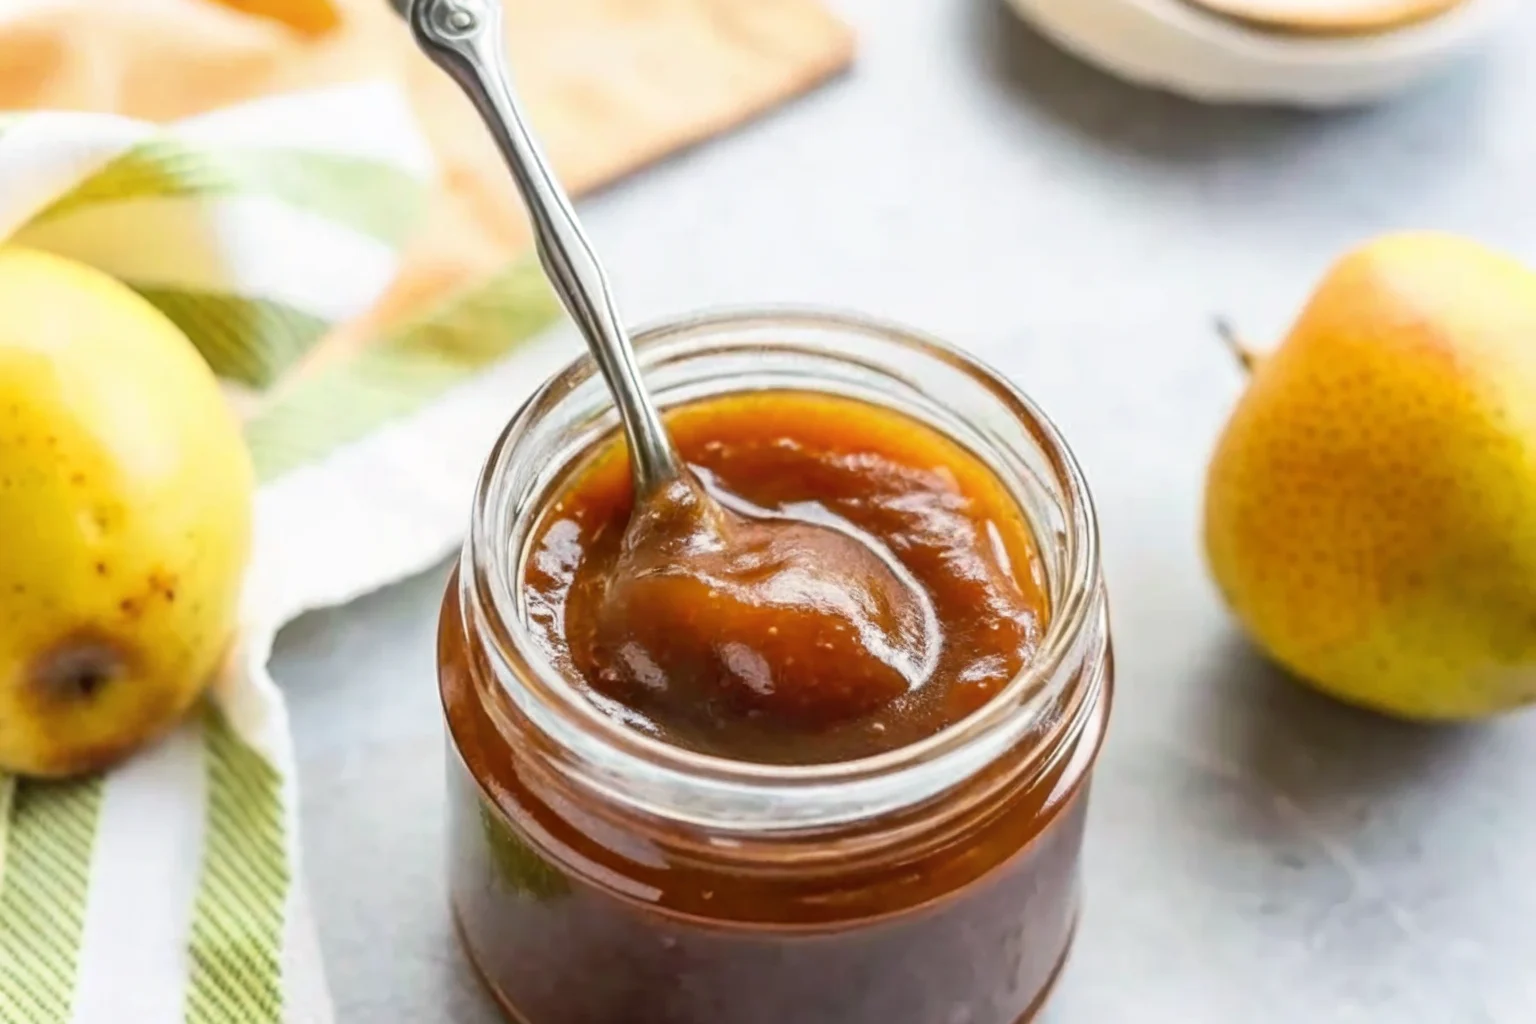
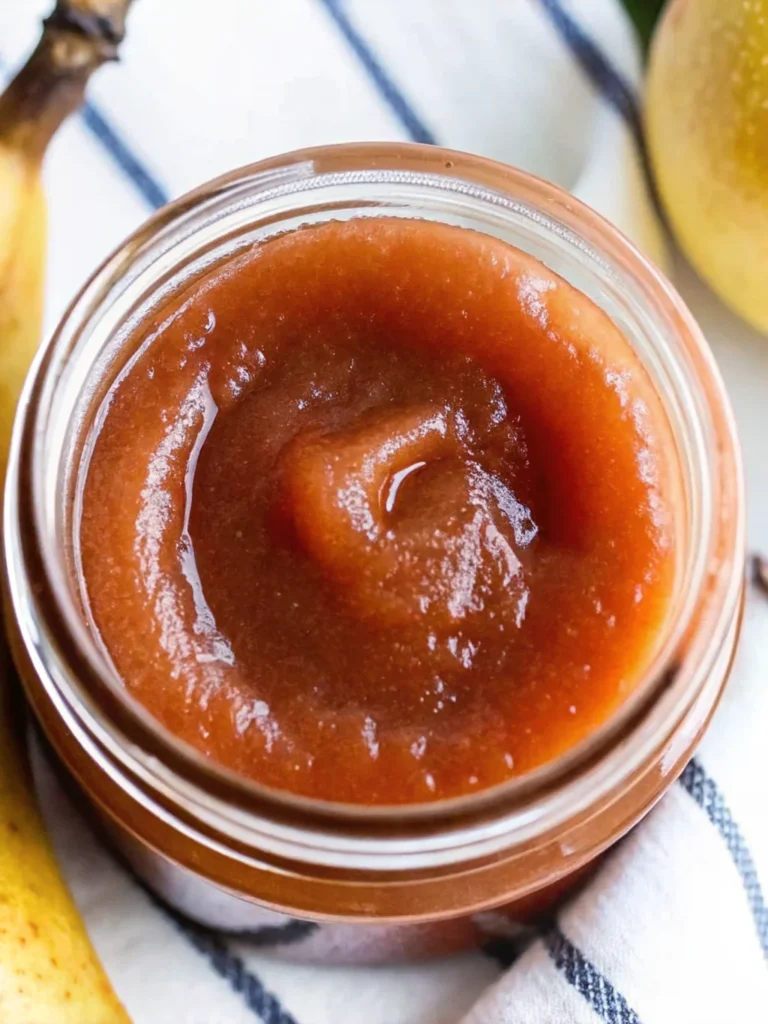
This homemade pear butter recipe transforms ordinary pears into a silky, spiced spread that captures the essence of fall in every spoonful. With just simple ingredients and three different cooking methods, you can create this naturally sweet butter that’s ready to go in 1 hour using the stovetop method, or let your slow cooker or Instant Pot do the work for you.
Table of Contents
Ingredients List
This pear butter recipe requires simple, pantry-friendly ingredients that work together to create complex, warm flavors:
- 3 lbs fresh pears, peeled, cored, and chopped – If your pears are nice and ripe, this should be a breeze to do. You’ll want to be sure your pears are ripe. Bartlett pears are sweet and get soft and juicy when ripe, making them ideal for this recipe.
- 1/3 cup brown sugar – Adds rich, molasses notes and helps thicken the butter naturally
- 1/4 cup water – Prevents scorching during initial cooking
- 2 TBSP fresh lemon juice – Lemon juice lends a bit of acidity to this spread to balance the sweetness and give it more complexity
- 1 1/2 tsp ground cinnamon – The star spice that gives pear butter its signature warmth
- 1/4 tsp ground nutmeg – Adds earthy depth
- 1/4 tsp allspice – Provides subtle peppery sweetness
- 1/4 tsp ground ginger – Brings gentle heat
- Pinch of ground cloves – Intensifies the warm spice profile
- 1/4 tsp ground cardamom – Adds floral, citrusy notes
Substitution Ideas: Honey or maple syrup can replace brown sugar, while pumpkin pie spice blend can substitute individual spices if needed.
Timing
This pear butter recipe offers flexibility with three cooking methods:
- Instant Pot: 20 minutes high pressure + 20 minutes sautéing = 40 minutes total
- Slow Cooker: 4 hours on high or 6-8 hours on low
- Stovetop: 50-60 minutes of simmering
The Instant Pot method saves approximately 67% more time than traditional stovetop cooking, making it perfect for busy schedules. Preparation time remains consistent at 15 minutes regardless of cooking method.
Step-by-Step Instructions
Instant Pot Method
Step 1: Combine Ingredients
Add all ingredients to the Instant Pot insert and stir thoroughly to ensure even spice distribution.
Step 2: Pressure Cook
Close the lid, set valve to sealing, and cook for 20 minutes at high pressure. The steam will naturally soften the pears while infusing the spices.
Step 3: Quick Release and Puree
After quick pressure release, open the lid and use an immersion blender to puree until smooth. For best results, continue blending an extra minute or so even after the pear butter looks smooth. This extra blending time helps achieve a silky-smooth texture.
Step 4: Thicken
Use the Sauté setting and simmer for 20 minutes, stirring occasionally, until the mixture reaches spreadable consistency.
Slow Cooker Instructions
Step 1: Layer Ingredients
Place all ingredients in slow cooker and stir to combine evenly.
Step 2: Cook Low and Slow
Cover and cook on high for 4 hours or low for 6-8 hours until pears are completely soft.
Step 3: Puree and Finish
Use immersion blender until smooth, then transfer to jars.
Stovetop Instructions
Step 1: Start the Simmer
Combine ingredients in heavy-bottomed saucepan and bring to a boil.
Step 2: Long, Slow Cook
Reduce to medium-low heat, cover partially, and simmer 50-60 minutes, stirring frequently to prevent sticking.
Step 3: Puree
Once pears are soft and mixture has thickened, puree with immersion blender until smooth.

Nutritional Information
This homemade pear butter recipe provides excellent nutritional value per 2-tablespoon serving:
- Calories: 35 kcal
- Total Carbohydrates: 9g
- Dietary Fiber: 1.5g
- Natural Sugars: 7g
- Protein: 0.1g
- Fat: 0g
- Sodium: 1mg
Pears are a rich source of important minerals, such as copper and potassium. Copper plays a role in immunity, cholesterol metabolism, and nerve function, whereas potassium aids muscle contractions and heart function. Additionally, these fruits are an excellent source of polyphenol antioxidants, which protect against oxidative damage.
Healthier Alternatives for the Recipe
Transform this pear butter recipe to meet various dietary needs:
Lower Sugar Options: Replace brown sugar with 2 tablespoons pure maple syrup or 3 pitted Medjool dates for natural sweetness.
Sugar-Free Version: Even if the pears are half green and not very sweet to start with, the cooked-down pear butter will be sweet, so you can omit sweeteners entirely if using very ripe pears.
Diabetic-Friendly: Use stevia or monk fruit sweetener in place of brown sugar, reducing the amount by half.
Anti-Inflammatory Boost: Add 1/4 teaspoon turmeric and increase fresh ginger to 1/2 teaspoon for additional health benefits.
Digestive Support: Include 1 tablespoon of fresh grated ginger to support digestive health.
Serving Suggestions
This versatile pear butter recipe enhances numerous dishes:
Breakfast Delights: Spread on toast or an english muffin for a quick morning treat. It’s also amazing on pancakes and waffles. Swirl into oatmeal or Greek yogurt for added flavor.
Sophisticated Pairings: Create an elegant cheese board by pairing pear butter with aged cheddar, brie, or goat cheese. The sweet-savory combination is irresistible.
Baking Applications: Use as filling for thumbprint cookies, swirl into cheesecake batter, or spread between cake layers.
Gourmet Touches: Use for turkey, cream cheese and pear sandwiches, or serve alongside roasted pork or chicken for a restaurant-quality meal.
Common Mistakes to Avoid
Success with this pear butter recipe depends on avoiding these frequent pitfalls:
Rushing the Process: If you try to rush the process too much, you may end up with watery results. Also, keep in mind that pear butter tends to thicken as it cools.
Inadequate Stirring: The key is to keep stirring! Stir the pear butter occasionally as it cooks so that it doesn’t burn to the bottom of the pan.
Using Underripe Pears: Always use very ripe pears for optimal flavor and texture. The golden-yellow pears are perfect–soft enough that they have a little give to them when pressed. The brighter green pears are still somewhat hard and not yet as sweet.
Wrong Pear Variety: Don’t use Asian pears for this recipe. They’re too watery, have a different flavor and texture, and won’t cook down properly.
Skipping the Lemon: The acid in lemon juice is crucial for both flavor balance and safe preservation.
Storing Tips for the Recipe
Proper storage ensures your pear butter recipe stays fresh and delicious:
Refrigerator Storage: Store in an airtight container and enjoy within 2–3 weeks. Always use clean utensils when serving to prevent contamination.
Freezer Storage: Preserves can be stored in the freezer for up to six months. When filling jars for freezing, leave 1-inch headspace. Use freezer-safe containers and label with date.
Canning for Long-term Storage: Canning pear butter is the best option if you’re making a large batch. Water bath canning preserves it for up to 12 months. If properly sealed, pear preserves can be stored in a cool, dark place for up to one year.
Pro Storage Tip: Wipe the rims of the jars before placing the lids on them to ensure proper sealing for any storage method.
Conclusion
This pear butter recipe transforms seasonal abundance into year-round enjoyment through three simple cooking methods. The combination of ripe pears, warm spices, and minimal sweetener creates a naturally delicious spread that’s both nutritious and versatile. Whether made in 40 minutes using an Instant Pot or slow-cooked for maximum flavor development, this recipe delivers consistent, restaurant-quality results every time.
Ready to create your own batch of homemade pear butter? Try this recipe today and share your results in the comments below! Subscribe to our newsletter for more seasonal preserve recipes and preservation tips that help you make the most of every harvest season.
FAQs
Q: Can I make this pear butter recipe without peeling the pears?
A: Yes! You don’t have to peel fresh pears as we do blend them after cooking to get a smooth butter. The immersion blender will break down the peels completely.
Q: How do I know when my pear butter is thick enough?
A: Pear butter is done when it can be mounded on a spoon (without running). You can also use the frozen plate test: put a small amount on a frozen plate – if it doesn’t run after one minute, it’s ready.
Q: Can I reduce the sugar in this recipe?
A: If you’re NOT canning: You can adjust the sugar and spices to taste. If you ARE canning: Do not reduce the sugar, pears, or citrus juice—the acidity is essential for safe water bath canning.
Q: What’s the best pear variety for this recipe?
A: Bartlett pears are sweet and get soft and juicy when ripe. Since the pears are being cooked down, you can use a pear with a firmer texture, but be sure to use one with comparable sweetness.
Q: Can I can this pear butter recipe safely?
A: Yes, this recipe follows safe canning guidelines. To water bath can this recipe, ladle it into hot jars, wipe the rims clean, put the lids on fingertip tight, and process in a boiling water canner for 15 minutes.
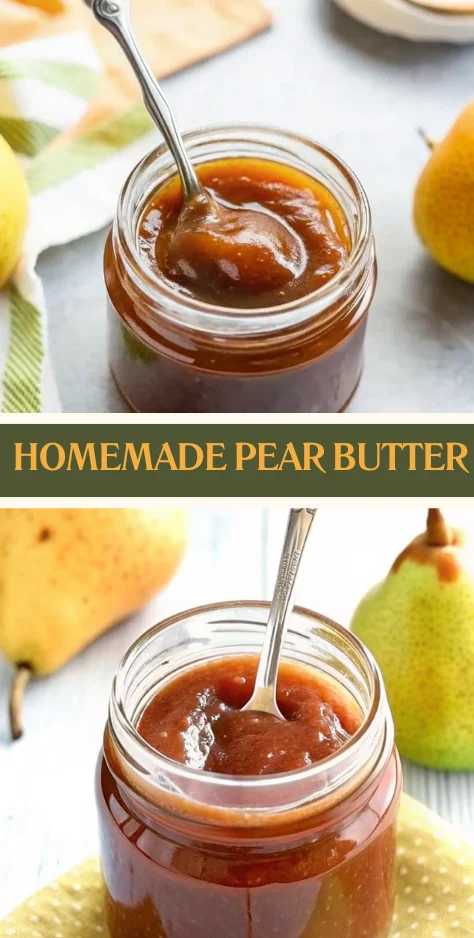
Homemade Pear Butter: The Ultimate Guide to Making This Delicious Fall Spread
- Total Time: Instant Pot: ~55 minutes | Slow Cooker: 4–8 hours 15 min | Stovetop: ~1 hour 15 min
- Yield: About 3 cups 1x
- Diet: Vegan
Description
This homemade pear butter recipe transforms ripe pears into a silky, spiced spread that captures the essence of fall. With stovetop, slow cooker, and Instant Pot methods, you can enjoy a naturally sweet, versatile preserve with minimal effort.
Ingredients
- 3 lbs fresh pears, peeled, cored, and chopped
- 1/3 cup brown sugar
- 1/4 cup water
- 2 tablespoons fresh lemon juice
- 1 1/2 teaspoons ground cinnamon
- 1/4 teaspoon ground nutmeg
- 1/4 teaspoon allspice
- 1/4 teaspoon ground ginger
- Pinch ground cloves
- 1/4 teaspoon ground cardamom
Instructions
- Instant Pot: Add all ingredients, cook on high pressure 20 minutes, quick release, puree, then sauté 20 minutes to thicken.
- Slow Cooker: Add all ingredients, cook 4 hours on HIGH or 6–8 hours on LOW until pears are soft, then puree.
- Stovetop: Combine all ingredients in heavy saucepan, bring to boil, reduce to medium-low, simmer 50–60 minutes stirring often, then puree.
Notes
Use ripe Bartlett pears for best flavor. Stir occasionally to prevent scorching. For canning, follow safe water bath guidelines. Store refrigerated up to 2–3 weeks, frozen up to 6 months, or canned up to 12 months.
- Prep Time: 15 minutes
- Cook Time: Instant Pot: 40 minutes | Slow Cooker: 4–8 hours | Stovetop: 50–60 minutes
- Category: Condiment / Spread
- Method: Instant Pot / Slow Cooker / Stovetop
- Cuisine: American
Nutrition
- Serving Size: 2 tablespoons
- Calories: 35
- Sugar: 7g
- Sodium: 1mg
- Fat: 0g
- Saturated Fat: 0g
- Unsaturated Fat: 0g
- Trans Fat: 0g
- Carbohydrates: 9g
- Fiber: 1.5g
- Protein: 0.1g
- Cholesterol: 0mg
Keywords: homemade pear butter, fall spread, pear recipes, instant pot pear butter, slow cooker pear butter, stovetop pear butter, fruit butter, pear preserves